
Cloudflare Email
Send transactional email with Cloudflare Email.
Before you begin
An account with access to the provider and permission to edit the settings below in Kernlift.
Expected result — a test message in your inbox and its delivery log.
Set up Cloudflare Email
Enable email sending
Open Cloudflare Email. Enable Email Sending for the sender domain.
Verify the sender domain
Publish and verify its DNS records.
Copy the account ID
Copy the Account ID from the account overview.
Issue the token
Create an API token with email sending permission.
Provider documentation · Email Sending REST API · API-token setup
Configure the application
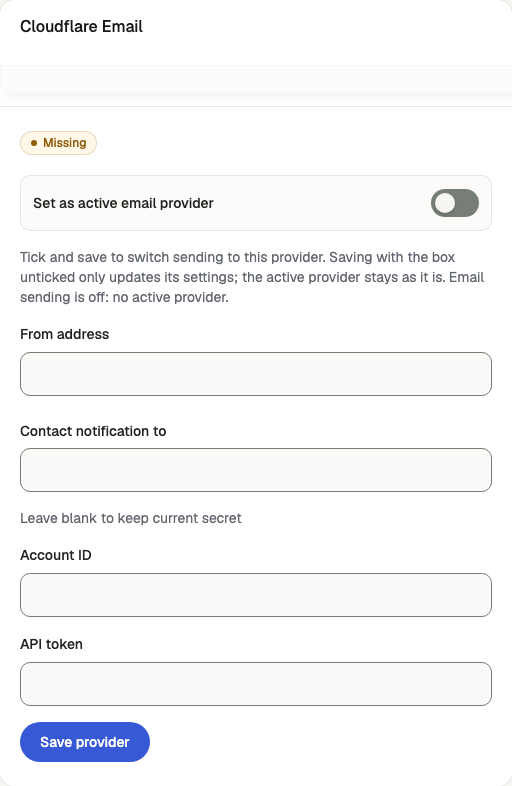
Open /admin/config/email in the Kernlift admin console.
| Value from provider | Admin field |
|---|---|
| Mailbox on the verified domain | From address |
| Cloudflare account overview; My Profile → API Tokens, a token that can send email. | Account ID, API token |
Tick Set as active email provider and click Save provider.
Verify
- On
/admin/email/test, choose a template and send it to your own address. - Confirm delivery in your inbox and a
sententry on/admin/email/deliveries.
Troubleshooting
Deliveries show not_configured
The active provider is missing a credential, or email is off. Resend needs an API key; Cloudflare needs account ID and API token; Aliyun needs AccessKey ID, secret and sender account.